The Search for the Best KVM Switch
November 11, 2023
Table of Contents
Context
I have a dual monitor setup for my personal gaming desktop. The monitors have around a 155Hz refresh rate, 1440p resolution, and 1ms response time. I don’t use it for gaming particularly often, but I was intentional about the specs and I want to get the full value out of them.
Rather than make a whole new setup for my work machine, a MacBook Pro with an M1 chip, I have them sharing the same keyboard, monitors, and mouse. Usually this would be a perfect usecase for a KVM switch (KVM stands for “keyboard, video, mouse”). The downside, however, is KVM switches can become the limiting factor of your display quality and performance.
The top hardware KVM switches I found
ConnectPro
I found this post on Linus Tech Tips asking about high refresh 240hz KVM switches. A user responded mentioning ConnectPro’s DisplayPort 1.4 KVM switches, which boast being the “FASTEST DDM-class DisplayPort 1.4 KVM switch line in the world with video EDID persistence and USB DDM technologies.” The dual monitor and two systems UDP2-12AP KVM switch boasts:
Support high resolution and high refresh rate up to 4k 120 hz-144 hz, 3440x1440 144hz, 2560x1440 185~144hz when using the KVM switch in conjunction with fiber optic DisplayPort 1.4 cables. (4K120~144hz RGB/4:4:4 support is not guaranteed with different combinations of GPU I/O, monitors, cables, and docking stations in the line of connections)
ConnectPro UDP2-12AP KVM Switch ConnectPro UDP2-12AP KVM Switch (rear)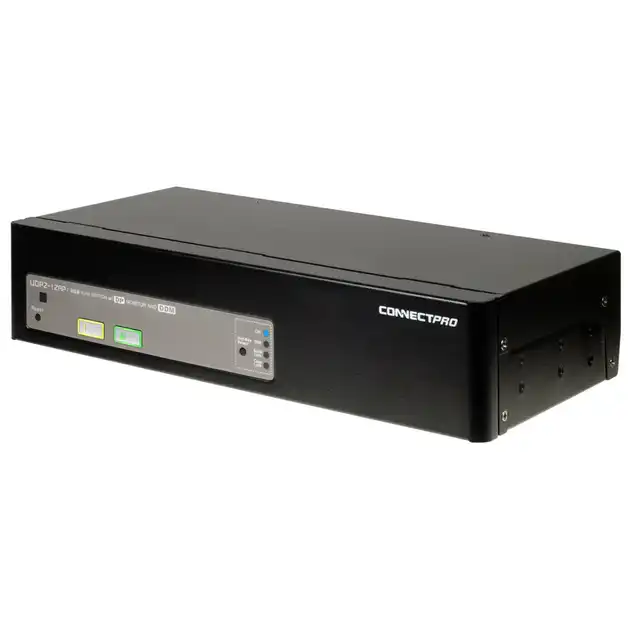
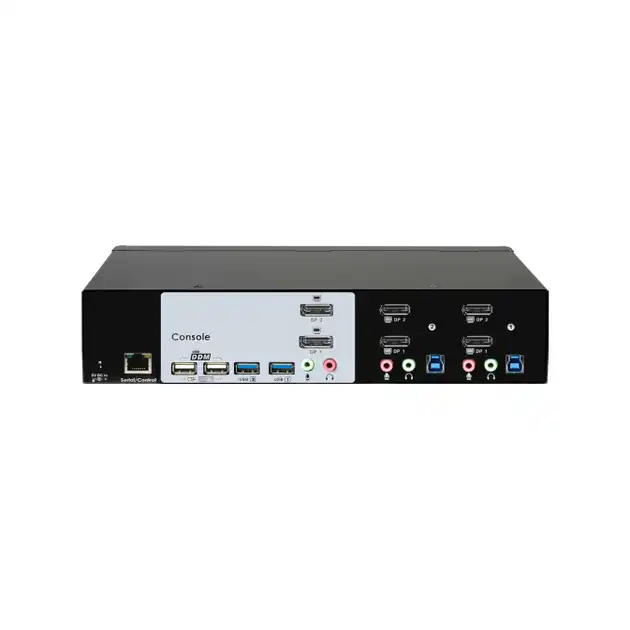
It costs a whopping $519 USD for the base price, with an additional $50 if you want to include the proper cable set for 60hz.
From the ConnectPro website, I found a link to this Google Site comparing KVM switches which is somewhat outdated on pricing and a ConnectPro marketing site so a bit biased. However, it helped me find their competitors.
Level1Tech
From the aforementioned Google site, I found the Level1Tech 1.4 Display Port KVM Switch - Dual Monitor - Two Computer. It too boasts an insanely high refresh rate and high resolution support.
Level1Tech KVM 2M2C10G Level1Tech KVM 2M2C10G (rear)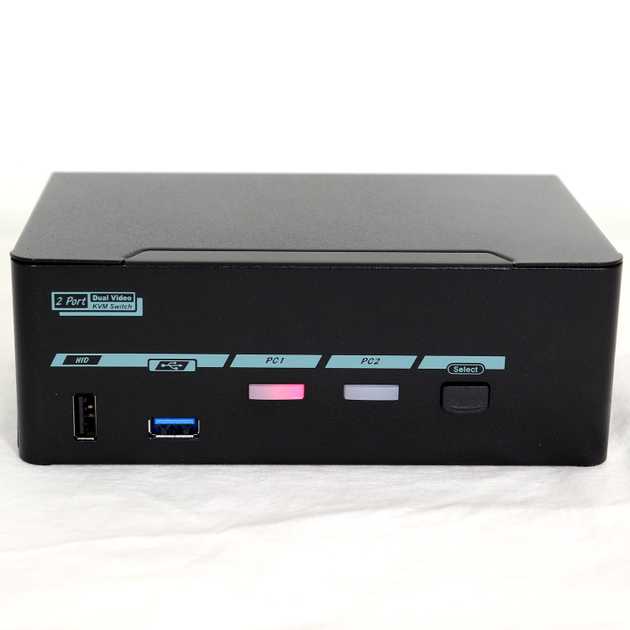
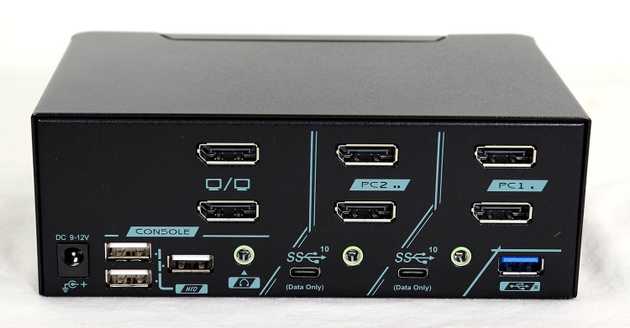
It was out of stock when I looked, but starts at $449 USD. Unlike the ConnectPro, they don’t have a bundle with cables.
Startech
After seeing Startech.com mentioned in the Google site, I found the P2DD46A2-KVM-SWITCH on Startech.com probably the closest to what the other models were. It’s only DisplayPort 1.2 compared to the 1.4 of the other two KVMs, but it still supports “up to two 4K 60Hz DisplayPort monitors.” The tech specs say “Other resolutions and refresh rates may be supported” so it’s unclear if 1440p would be supported at higher refresh rates, but the SV231DPDDUA2, a similar model but without the 5Gbps USB hub) and nearly the same spec sheet, claims in a comment:
The SV231DPDDUA2 will support 2560x1440 @ 165hz as long as the source, displays and video cables supports this resolution and refresh rate. Atha, StarTech.com Support
The Startech.com P2DD46A2-KVM-SWITCH The Startech.com P2DD46A2-KVM-SWITCH (rear)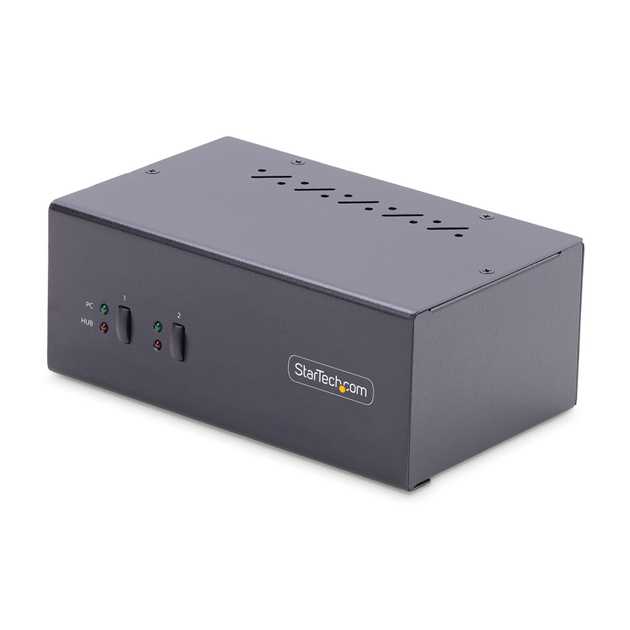
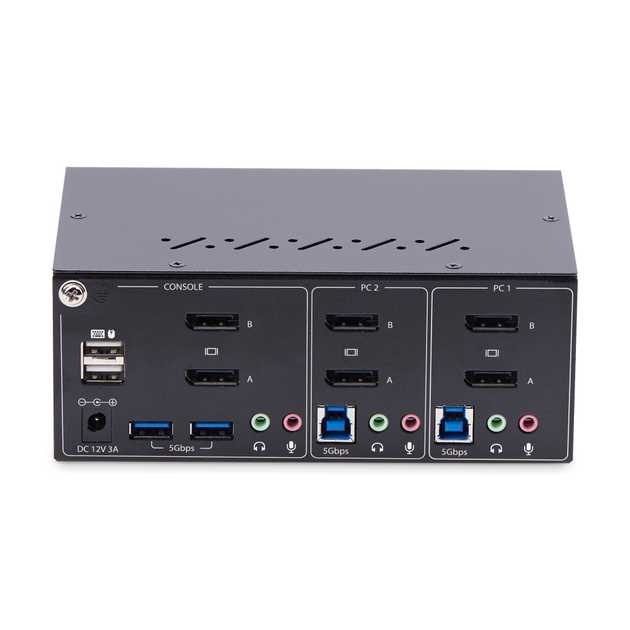
At the time of writing, the P2DD46A2-KVM-SWITCH is listed at $402.99 USD and the SV231DPDDUA2 is listed at $332.99 USD.
Not good enough!
Though I had some good options, I also had some strange preferences and hangups.
I don’t actually care about how good the display output is from my work machine, the MacBook Pro, as long as it supports the resolution. I had some extra HDMI cables lying around and a USB-C to HDMI converter that I was now using for the MacBook in conjunction with a simple USB switch and the secondary monitor inputs. If I were to get any of these KVM switch options, I would need new DisplayPort cables.
My end goal was to be able to have one cable I plug into my MacBook, so that I can easily unplug it and take it with me and plug it back in later. I had a number of peripherals besides the mouse and keyboard that would need USB. I also wanted a wired internet connection so I needed Ethernet as well. So I was already considering getting this Anker USB-C docking station to take care of all these needs, but if I did, I would not only need DisplayPort cables but also at least one HDMI to DisplayPort adapter (the hub has one DisplayPort 1.2 output). (Or I could have gone back to the drawing board for the docking station and found one that supported two DisplayPorts, but I didn’t really want to do that…)
These additional costs add up, and the initial price wasn’t cheap to begin with! And I couldn’t help but think I was paying too much money just to be lazy and not have to hit a couple input buttons on my monitors. What’s more, even though I don’t think I’m that much of a gamer, I couldn’t help but hear a little voice inside me yelling at me for putting another device in the signal chain. Sure, they may be high performing, but they’re still worse than direct to the monitor!
The solution: A Software KVM Switch
I wanted to hear what gamers were saying about KVM switches, and I found this reddit post that perfectly nailed my usecase. I saw a couple of comments mentioning Startech, ConnectPro, and Level1Tech so I felt pretty validated in my earlier research, but I also saw some scary comments about EDID support and HDCP emulation that gave me pause. Some comments mentioned using Remote Desktop as a workaround to using KVMs, which would just feel bad.
But then, buried deep in the post, was this comment from user stefanwlb about a software KVM solution.
Display-switch: Turn a $30 USB switch into a full-featured multi-monitor KVM
HOLY why didn’t I think of that?! I didn’t know that was even possible. I hadn’t considered that there was a way to control the monitor inputs via software!
The comment linked to a Hacker News thread which in turn linked to the repository if display-switch by GitHub user haimgel (aka Haim Gelfenbeyn). It turns out the code is actually pretty simple as there’s a standard in new monitors called Display Data Channel Control Interface (DDC/CI) that can be used to control different monitor settings. Many apps exist that allow you to control the brightness and other settings via software, but display-switch focuses solely on letting you switch inputs. The trigger to do the switch is the detection of a USB connection or disconnection.
Check out the post on Haim’s blog: Dual-monitor 4K@60hz KVM switch for $30
A red herring
This seemed super awesome for me, since I already had a USB switch! But then I saw the bad news:
It is supposed to be installed on all computers that could be connected to these monitors, since the app only switches monitors “one way” and relies on itself running on the other computers to switch it “the other way” as needed.
NOTE: Display Switch is currently not working on M1 Macs: M1 series SoC support in ddc-macos-rs is planned but is not implemented yet.
I clicked through to the issue tracking M1 support, and saw grooveborg had figured out a workaround using m1ddc and triggering external commands with display-switch instead of relying on it to send DDC commands itself.
Their INI file looked like this:
usb_device = "<DEVICE_ID>"
on_usb_connect_execute = "/usr/local/bin/m1ddc display <UUID> set input <n>"
on_usb_disconnect_execute = "/usr/local/bin/m1ddc display <UUID> set input <n>"
And they also commented out some of the error checking and compiled display-switch themselves:
I’m not familiar with Rust so I just commented out the error-checking bits in display_control.rs and compiled it. External commands won’t run if no DDC-compatible displays are found.
I could do that!
Writing this now a few nights later I realize if I had read a little closer, I would have noticed this comment from stevegore and not needed to go down this path at all!
Thank you. I ended up getting my PC (second computer) to run display-switch and that works just as well it turns out.
Visiting m1ddc’s repository I saw this note:
Please note that this tool does not support the built-in HDMI port of M1 and entry level M2 Macs. This tool does not support Intel Macs. You can use BetterDisplay for free DDC control on all Macs and all ports.
I was using the HDMI port of my MacBook Pro at the time, and I was curious if I could get this to work, so I downloaded BetterDisplay.
I found the setting in BetterDisplay’s shortcuts that allowed you to switch the monitor inputs. Unfortunately, you needed two shortcuts, one for each monitor. My plan now was to create some binary that could trigger both shortcuts and have display-control call that binary on USB connection/disconnection.
I ended up writing my first ever AppleScripts which took me way too long to write. It required changing the permissions of “Script Editor” and Terminal to allow sending keys, looking up key codes of the function keys like F1 or F2, and tweaking some delays, which landed me on the following scripts:
-- Triggers BetterDisplay's keyboard shortcuts
-- for switching each monitor's display input to my MacBook
delay 1
tell application "System Events" to key code 98 --F7
delay 1
tell application "System Events" to key code 100 --F8
-- Triggers BetterDisplay's keyboard shortcuts
-- for switching each monitor's display input to my PC
delay 1
tell application "System Events" to key code 96 --F5
delay 1
tell application "System Events" to key code 97 --F6I also downloaded display-switch and did the edits necessary to get that working on M1 (basically commenting out any error handling like grooveborg said and compiling).
And it sorta worked! But not really. It sometimes worked, and sometimes didn’t. I kept thinking that the delays on the keystrokes needed to be longer because maybe one of the shortcuts wasn’t being triggered because a key was still being detected as down or something, but that wasn’t the case. The shortcuts worked great manually! I could smack F5 and F6 on my keyboard and it worked just fine. But with the script it was hit or miss - sometimes one monitor went, and the other didn’t.
Frustrated, I almost went to bed (it was pretty late). But then I had a “duh!” moment - why not just make the PC do both the connection/disconnection actions? It’s the one that’s permanently going to be plugged in anyway. And it would avoid me giving Terminal access to send keystrokes (yikes!) and having strange software on my work machine.
Conclusion
I ended up getting that Anker USB-C docking station and using the existing HDMI cables I had to connect my MacBook to the monitors.
I installed and set up display-switch on my PC without much trouble. There was an important step in the README I needed to do, though:
Tips for Windows: monitors can be renamed in the Registry at \HKEY_LOCAL_MACHINE\SYSTEM\CurrentControlSet\Enum\DISPLAY{MODEL_ID}{CONNECTION_ID}. Edit the DeviceDesc value and change the name after the last semicolon. This is especially helpful in case they are all just “Generic PnP Monitor”.
Both of my monitors were “Generic PnP Monitor” so I ended up renaming them to their hardware IDs.
I also made sure to put the program in the %APPDATA%\Microsoft\Windows\Start Menu\Programs\Startup folder so it ran on startup (also outlined in the README).
I’m using my existing UGREEN USB switch and having it detect my keyboard device. Looking at the logs of the display-switch program helped me figure out what the IDs of the devices were.
I’m pretty happy with the result and I can sleep at night knowing I haven’t put anything between my PC and my monitors, even if I don’t play games! Thank you so much Haim Gelfenbeyn! You saved me $300!